
Cost Analysis for Aluminum Castings
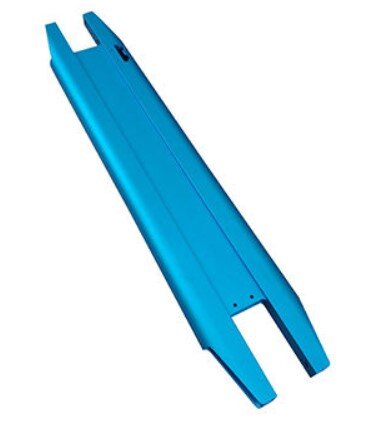
Last week, I went through the different types of manufacturing processes. This week, I’ll be walking through a business case to figure out which manufacturing technique is right for your design, your volume and the stage of the project you’re in. By following this method, you’ll be able to put together a plan for what type of manufacturing to use and when. The example I’ll be using below is a scooter chassis.
Before diving into the cost details, you need to be clear on the following points:
1. What do you need to accomplish with these parts?
a. Are they prototypes?
b. Proof of concept?
c. Pre-production testing?
d. Customer saleable units?
2. How mature is your design?
a. Are you still working out the details?
b. Have you completed testing, and is it ready to go into production?
3. What is your timeline?
a. Do you need the parts in 1 week?
b. Or are you kicking off production tooling and willing to wait?
4. What is your budget?
a. Are you on a proto budget?
b. Do you need to meet your long term production targets to maintain a viable business case?
The below table shows the approximate cost for manufacturing this part for each type of manufacturing. Then, I go into further details about how to choose the best one below.

As I discussed last week, the quickest way to make this part is to machine it from billet aluminum. This is a great path to select for doing early prototypes, proof of concept, or if you just need some parts really quickly. However, it is not a good solution if you’re looking to get 10 parts or more. The reason for this is because this part would cost around $800 to machine overseas in China or Taiwan and $1500 to machine in the US.
The next method you can investigate is either sand casting or investment casting. This part in particular would be a better candidate for sand casting because it doesn’t have fine details. Investment casting would likely yield a price of $100 each where sand casting would come in around $80. With both Sand Casting and Investment casting you’ll need to pay a little bit up front for your master part that the molds will be made from.
Next, we have high pressure die casting. This is a great manufacturing type to use for high volume because the price would come out around $30 each for this part. But, you have about a $45,000 up front investment in the die casting tool. Also, it’s hard to make changes to the part once the tool is done. So, with the high tooling cost and the difficulty in making design changes, you only want to move in this direction if you are super confident in both your sales projection and your designs.
If you really need high performance out of this part, you can consider having it forged. This will yield the best properties for strength. But while forging has a slightly lower tooling cost than high pressure die casting, it would probably cost around $40 per part, meaning it has a higher piece price.
So, now let’s start trying to figure out how much this is going to cost and which one is right for you. Take a look at the graph below which is a representation of the costs I’ve detailed above. For the purposes of this part in particular, we are weighing the difference between machining, sand casting and high pressure die casting.

This is a great way to visually represent how much money you’re putting into this part. You can see machining is super expensive. Sand casting is about middle of the road and very little investment up front. Then die cast starts out very expensive because of your up front tooling cost, but right around 850 parts it becomes the cheaper way to go.
Therefore, it’s pretty obvious that if you’re making 850 parts or less you should go with sand casting. Or if you’re making significantly more than 850 parts you should go with die casting. But at what point do you decide to switch over between the two?
Honestly, that is probably a bit more of an engineering call rather than a financial call. High pressure die cast tooling is expensive to build and expensive to modify. Occasionally, if your changes are big enough, it cannot be modified, and you have to buy a new tool. So the reality is, if you are going to be making thousands of parts, you want to switch over to high pressure die casting as soon as possible. However, first ensure you are confident that you have flushed out any design and assembly issues with the part.
The graph above is a representation of what your costs would be like if you started with either one of the first day. But what if you don’t switch over until after you’ve made 200 parts? Two hundred pieces of sand casting parts will cost you $18,000. Then, you would have to invest $45,000 for die cast tooling on top of that. Also, bear in mind that die cast tooling for a part like this will take approximately 12 weeks to make. Therefore, you will have to continue buying sand casting parts for those 12 weeks after you’ve decided you’re ready to switch over to die casting.
This is often why companies rush into high volume low cost manufacturing, because they’re trying to take advantage of the low piece price as soon as possible. But, the risks are that it is even more expensive to begin manufacturing a tool too soon and have to scrap it later because of design changes.
Finally, it really comes down to the questions I asked in the beginning:
1. What do you need to accomplish with these parts?
2. How mature is your design?
3. What is your timeline?
4. What is your budget?
If the answer to all these questions clearly points to high pressure die casting, then go for it! But if you’re not sure on a few points, then it’s better to take a step back and re-evaluate.